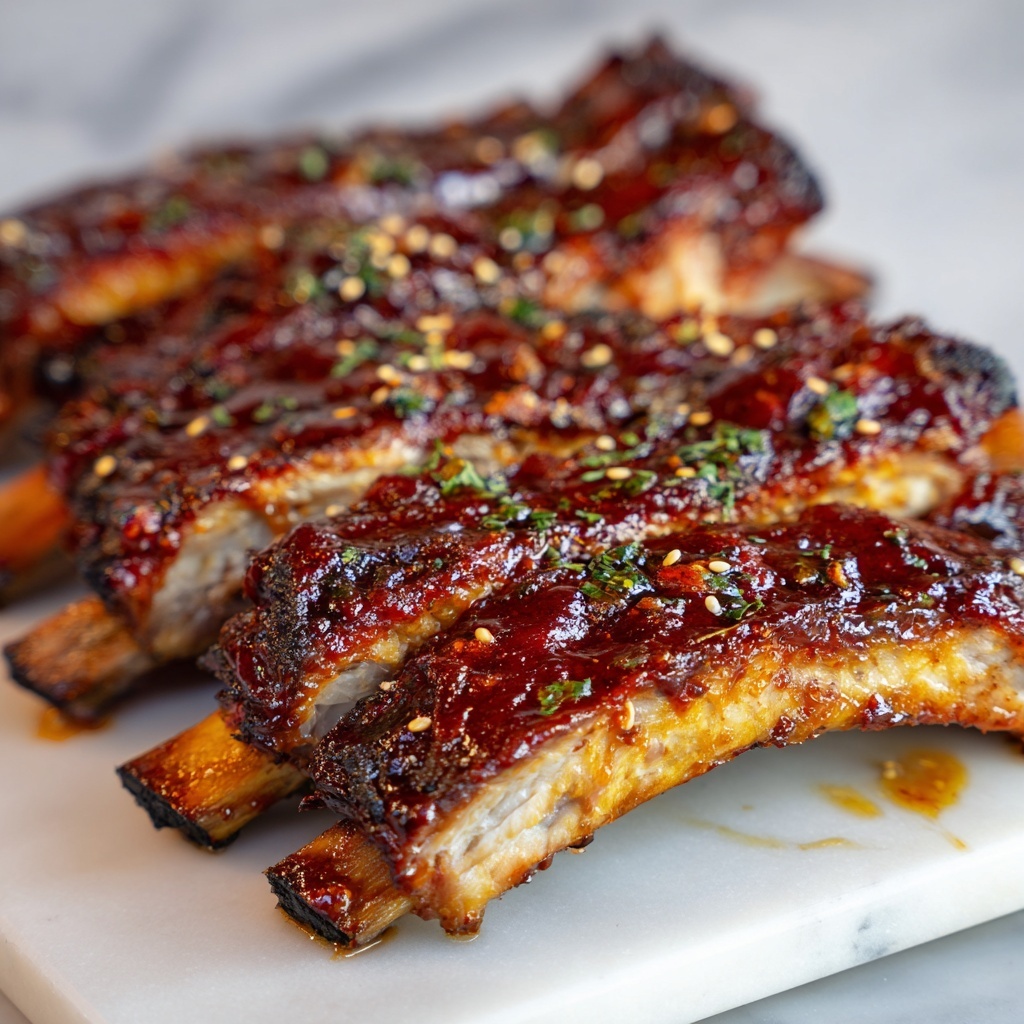
If you’re craving ribs that are sticky, tender, and bursting with flavor, then you absolutely have to try this Honey Garlic Ribs Made Easy and So Tasty Recipe. It’s one of those dishes that feels fancy but is surprisingly simple to make at home. The magic lies in the perfect blend of honey’s natural sweetness, the savory punch from garlic and soy sauce, and a gentle kiss of spice, all coating melt-in-your-mouth pork ribs. Whether you’re cooking for family, friends, or simply treating yourself, this recipe promises finger-licking delight from the very first bite.
Ingredients You’ll Need
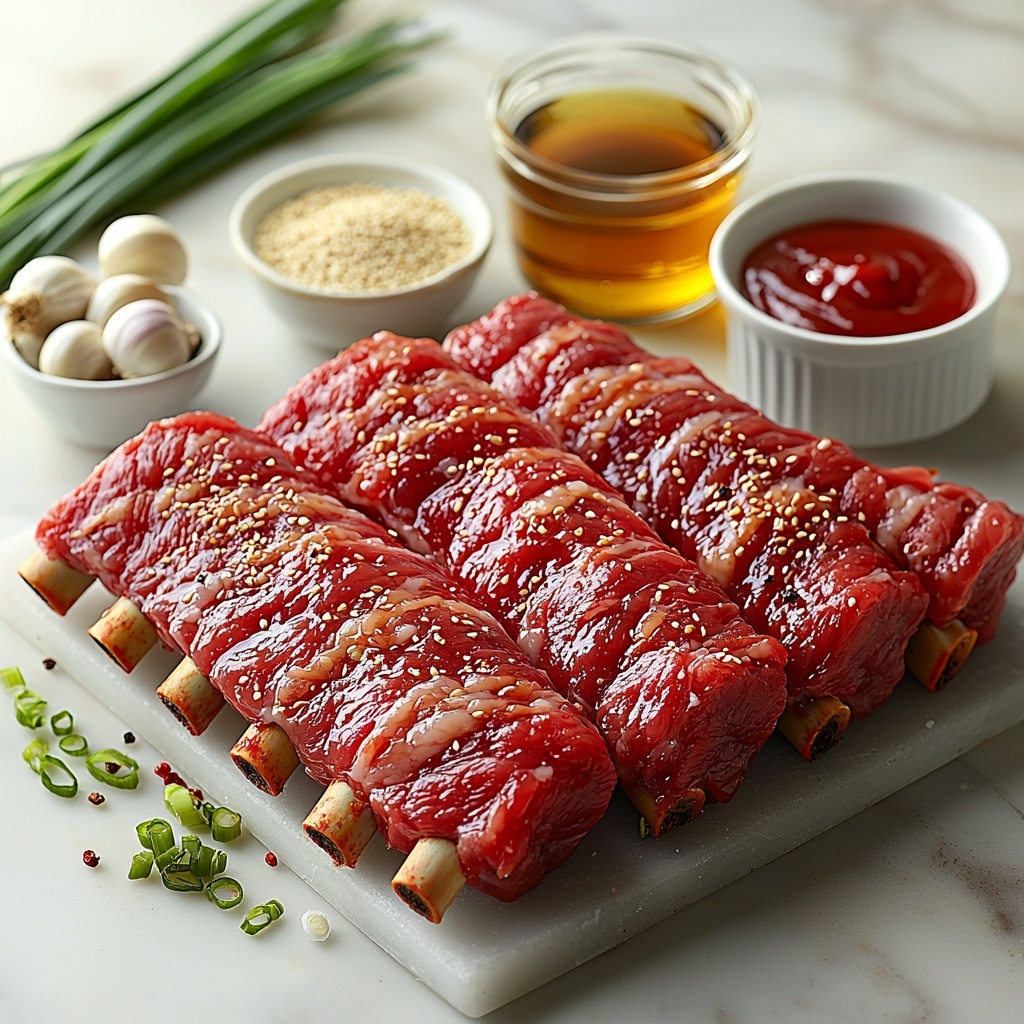
The beauty of this recipe is how straightforward and accessible the ingredients are. Each one plays a vital role in building layers of flavor, texture, and that gorgeous, glossy finish that ribs dreams are made of.
- 2 racks pork baby back ribs (about 4 lbs): The tender meat perfect for absorbing the honey garlic sauce and achieving ultimate juiciness.
- Salt and black pepper to taste: Simple seasonings that bring out the natural pork flavors.
- 1 tablespoon olive oil: Helps to gently sauté garlic for a rich, aromatic base.
- 4 garlic cloves minced: Adds a fragrant, savory kick that balances the sweetness of the honey.
- 1/2 cup honey: The star ingredient for sweetness and a luscious sticky glaze that caramelizes beautifully.
- 1/3 cup soy sauce: Provides deep, savory umami notes and a perfect salty contrast.
- 1/4 cup ketchup: Adds subtle tang and helps thicken the sauce for that ideal sticky texture.
- 2 tablespoons rice vinegar or apple cider vinegar: Adds brightness and balances the richness with a hint of acidity.
- 1 tablespoon brown sugar: Enhances the caramelization and adds a warm molasses undertone.
- 1 teaspoon ground ginger: Brings a mild spice and aromatic warmth.
- 1/2 teaspoon crushed red pepper flakes (optional): For a subtle heat that wakes up your taste buds.
- Sliced green onions and sesame seeds for garnish (optional): Offers fresh color and crunch as the perfect finishing touch.
How to Make Honey Garlic Ribs Made Easy and So Tasty Recipe
Step 1: Prep and Season the Ribs
Start by preheating your oven to 300°F (150°C). To ensure your ribs are tender, remove the tough membrane on the back; this allows the flavors to really soak in. Pat the ribs dry to get a nice seasoning grip, then generously season both sides with salt and black pepper. Wrapping each rack tightly in foil creates a perfect steam pocket to keep the ribs juicy during their slow bake.
Step 2: Bake the Ribs Low and Slow
Place the wrapped ribs on a baking sheet and pop them in the oven for about 2.5 to 3 hours. This slow baking method is the secret to ribs that fall right off the bone, tender and juicy, making this Honey Garlic Ribs Made Easy and So Tasty Recipe truly shine.
Step 3: Make the Honey Garlic Sauce
While those ribs are cooking, heat olive oil in a saucepan over medium heat. Toss in the minced garlic and sauté just for about 30 seconds until fragrant. Then add honey, soy sauce, ketchup, vinegar, brown sugar, ground ginger, and optional red pepper flakes. Bring the mixture to a gentle simmer and cook for 5 to 7 minutes until it thickens slightly. This sauce is what transforms the ribs into a sticky-sweet sensation.
Step 4: Glaze and Broil for Caramelized Perfection
Carefully remove the ribs from the foil once tender, laying them on a clean, foil-lined baking sheet. Brush them generously with that luscious honey garlic sauce. Pop them under the broiler on high for 3 to 5 minutes while watching closely — this step caramelizes the glaze, creating that irresistible sticky crust you’ll want to savor.
Step 5: Rest, Slice, and Garnish
Allow the ribs to rest for a few minutes after broiling, then slice into individual servings. Sprinkle with sliced green onions and sesame seeds if you like, adding a pop of color and texture that perfectly complements the rich flavors. These finishing touches truly bring this Honey Garlic Ribs Made Easy and So Tasty Recipe to life.
How to Serve Honey Garlic Ribs Made Easy and So Tasty Recipe
Garnishes
Brighten up your honey garlic ribs with freshly sliced green onions and a sprinkle of toasted sesame seeds. These simple garnishes add visual appeal and a delightful crunch, making every bite even more special.
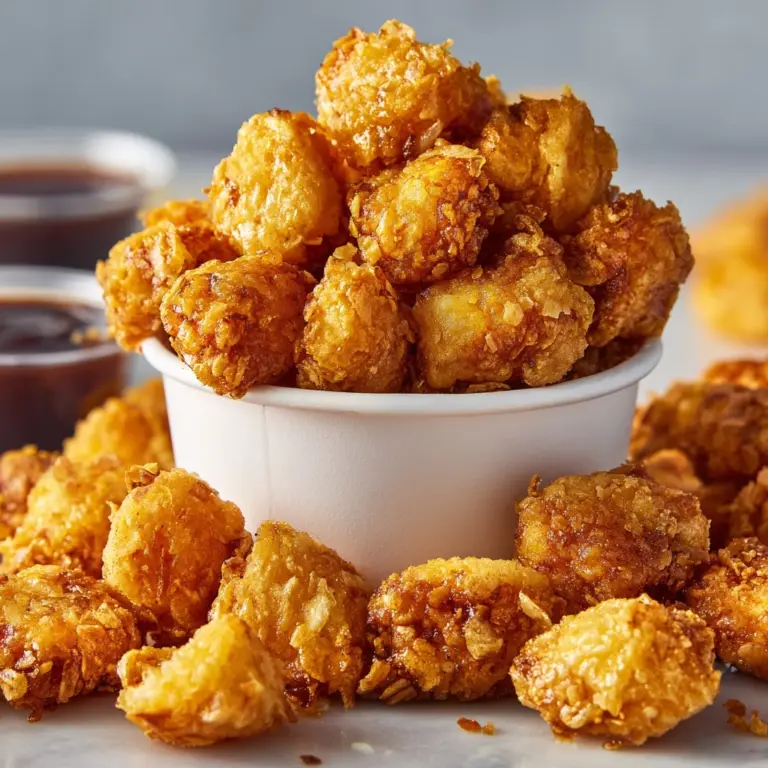
Side Dishes
This dish pairs wonderfully with classic sides like creamy mashed potatoes or buttery corn on the cob to soak up every ounce of the sticky sauce. For a lighter option, serve alongside a crisp green salad or steamed vegetables to balance the richness.
Creative Ways to Present
For a fun twist, try serving the ribs on a large platter with lime wedges and chopped fresh cilantro for a zesty note. You can also turn this recipe into a party favorite by cutting ribs into small portions and offering toothpicks for easy finger food enjoyment. Presentation matters as much as flavor in making this Honey Garlic Ribs Made Easy and So Tasty Recipe a hit!
Make Ahead and Storage
Storing Leftovers
Place leftover ribs in an airtight container and refrigerate for up to 3 days. The flavors deepen overnight, so leftovers often taste even better the next day.
Freezing
If you want to keep ribs longer, wrap them tightly in foil and store them in a freezer-safe bag. They can stay fresh in the freezer for up to 3 months without losing that honey garlic goodness.
Reheating
Reheat leftovers gently in the oven at 300°F (150°C) covered with foil to retain moisture, or warm in a skillet over medium heat with a splash of water to revive that sticky sauce without drying out the meat.
FAQs
Can I use a grill instead of an oven?
Absolutely! This Honey Garlic Ribs Made Easy and So Tasty Recipe works beautifully on the grill. Cook the ribs low and slow, then baste with the honey garlic sauce over direct heat for that perfect caramelized finish.
What if I don’t have rice vinegar?
No problem! Apple cider vinegar is an excellent substitute and gives a nice tang that enhances the overall flavor just as well.
Can I make this recipe gluten-free?
Yes, simply use tamari or another gluten-free soy sauce alternative to keep it safe without sacrificing taste.
Is it possible to make this recipe spicier?
Definitely! Add extra crushed red pepper flakes or a dash of your favorite hot sauce to the honey garlic sauce during cooking for a spicy kick.
How do I remove the membrane from ribs?
Slide a butter knife under the thin silver membrane on the back of the ribs, then grab it with a paper towel and peel it off. Removing it ensures the ribs stay tender and flavorful.
Final Thoughts
There’s nothing quite like the joy of sinking your teeth into ribs that are sticky, sweet, and bursting with garlicky goodness—and this Honey Garlic Ribs Made Easy and So Tasty Recipe delivers exactly that. It’s a recipe that’s as approachable as it is impressive, making it perfect for weeknight dinners or special occasions. So go ahead, gather those simple ingredients, and treat yourself to a plate of ribs you’ll want to make again and again.
Print
Honey Garlic Ribs Made Easy and So Tasty Recipe
- Prep Time: 15 minutes
- Cook Time: 3 hours
- Total Time: 3 hours 15 minutes
- Yield: 4–6 servings
- Category: Main Course
- Method: Baking
- Cuisine: Asian-Inspired, American
- Diet: Gluten Free
Description
These Honey Garlic Ribs are incredibly tender, sticky, and bursting with sweet and savory flavors. Slow-baked in the oven and finished under the broiler for a caramelized glaze, this recipe is easy to follow and perfect for a delicious main course that impresses every time.
Ingredients
Ribs
- 2 racks pork baby back ribs (about 4 lbs)
- Salt and black pepper to taste
- 1 tablespoon olive oil
Honey Garlic Sauce
- 4 garlic cloves, minced
- 1/2 cup honey
- 1/3 cup soy sauce (use tamari or gluten-free soy sauce for gluten-free option)
- 1/4 cup ketchup
- 2 tablespoons rice vinegar or apple cider vinegar
- 1 tablespoon brown sugar
- 1 teaspoon ground ginger
- 1/2 teaspoon crushed red pepper flakes (optional)
Garnish (optional)
- Sliced green onions
- Sesame seeds
Instructions
- Preheat and Prepare Ribs: Preheat your oven to 300°F (150°C). Remove the membrane from the back of the ribs carefully, then pat the ribs dry with paper towels. Season both sides of the ribs evenly with salt and black pepper.
- Wrap and Bake Ribs: Wrap each rack of ribs tightly in aluminum foil and place them on a baking sheet. Bake in the preheated oven for 2.5 to 3 hours, or until the ribs are tender and easily pierced with a fork.
- Make the Honey Garlic Sauce: While the ribs are baking, heat the olive oil in a saucepan over medium heat. Add the minced garlic and sauté for about 30 seconds until fragrant. Stir in the honey, soy sauce, ketchup, vinegar, brown sugar, ground ginger, and crushed red pepper flakes. Bring the mixture to a gentle simmer and cook for 5 to 7 minutes, stirring occasionally, until the sauce thickens slightly. Remove from heat and set aside.
- Glaze and Broil Ribs: Once the ribs are done baking, carefully remove them from the foil and place on a fresh baking sheet lined with foil or parchment paper. Generously brush the ribs with the prepared honey garlic sauce. Place the ribs under the oven broiler on high for 3 to 5 minutes, watching closely, until the glaze is caramelized and sticky but not burnt.
- Serve and Garnish: Let the ribs rest for a few minutes after broiling. Slice between the bones into individual ribs and garnish with sliced green onions and sesame seeds if desired. Serve immediately for the best flavor and texture.
Notes
- For deeper flavor, marinate the ribs in the honey garlic sauce for a few hours or overnight before baking.
- This recipe can also be made on the grill: cook the ribs low and slow over indirect heat, then baste with the sauce and finish over direct heat to caramelize the glaze.

